
Overview
This guide explains how to use the Conversations tool in Lead Pursuits to interact with your data using agents and natural language queries.
Access the Conversations page
- Log in to the Lead Pursuits platform using your account credentials.
- Click the side navigation menu icon.
- Click Conversations. The system will open the Conversations workspace.

Figure 1: Conversations page
Understanding the Conversations Workspace
The Conversations workspace provides two primary tabs for data exploration:
- Agents Tab: Displays all previously created agents configured for specific data analysis tasks.
- Explore Tab: Provides direct access to available data Explores for immediate conversation creation.
Create a New Agent
Agents are pre-configured assistants designed for specific data exploration needs, such as analyzing budget categories, tracking trends, or monitoring agency performance.
Step 1: Access the Agent Creation Interface
- Click the + Create Agent button. The system will open the agent configuration window.

Figure 2: Creating New agent
Step 2: Configure Basic Agent Information
- Enter a descriptive name that reflects the purpose of the agent in the Agent name field.
- Example: “Budget Analysis Agent” or “California Agency Trends Agent”

Figure 3: Agent name
- Provide a brief overview to help users understand what the agent does in the Agent description field.
- Example: “Analyze Leads Grid data through conversation – explore budget categories, spending trends, agencies, and opportunity activity”
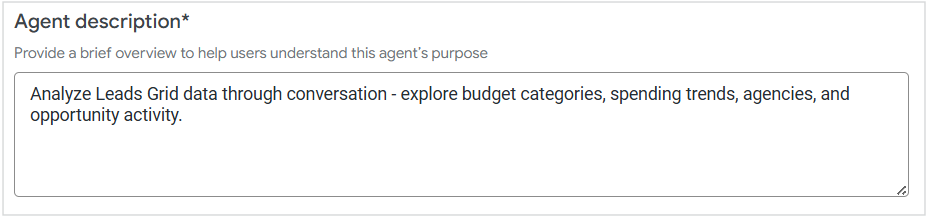
Figure 4: Agent description
Step 3: Select Data Sources
- Click the + Select Explore button under Data. The system will display available data Explores.
- Select one or more explores from the available options:
- Agency Analysis
- LP Unified Data
- Click Save to add the selected explores to your agent.

Figure 5: Selecting data sources
Step 4: Add Instructions for the Agent
- Provide specific instructions about your data in the Instructions tab. Clear instructions improve response accuracy and relevance.
Example Instructions:
“The most important fields in this data source are:
- Lead_id: Unique identifier for each opportunity
- Agency Name: Government entity posting the opportunity
- Budget_Tier: Classification of spending type
- Due Date: Deadline for submission
- Posted Date: When the opportunity was published”
“Never use these fields: Internal Notes, Draft Status”
“For any question about date filtering, use Posted Date and Due Date unless other fields are specified”
“When analyzing trends, prioritize the last 90 days of data.”
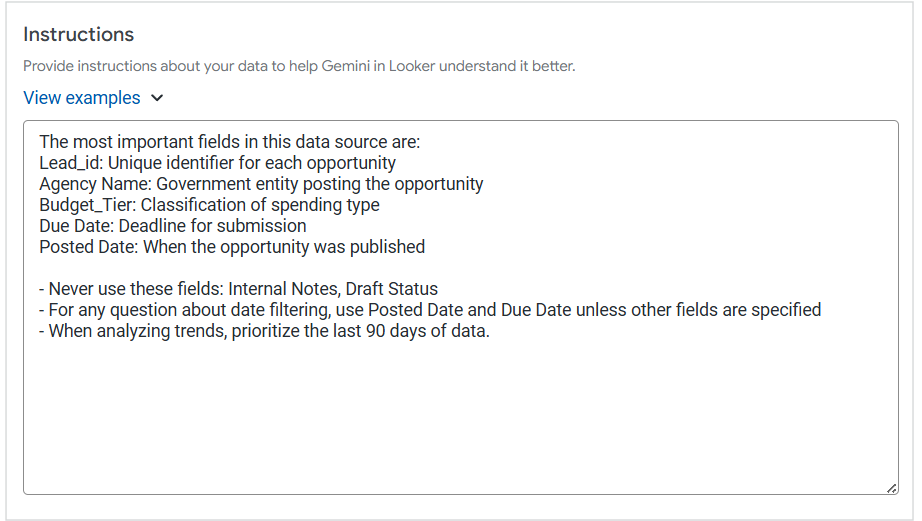
Figure 6: Agent Instructions
Step 5: Preview and Test Your Agent
- Use the Preview panel on the right side to test your agent before saving.
- Enter sample questions to verify the agent responds appropriately.
Example Test Questions:
- “What are the most common budget tiers for opportunities in California?”
- “Show me agencies with the highest number of posted opportunities.”
- “What trends do you see in construction-related opportunities?”
- Review the responses and adjust instructions if needed.

Figure 7: Previewing agent response
Step 6: Save the Agent
- Once satisfied with the configuration and preview results, click Save.
- The agent will now appear in your Agents tab and is ready for use.

Figure 8: Saving agent
Start a Conversation with an Agent
Access Your Saved Agents
- Navigate to the Conversations workspace.
- Click the Agents tab to view all available agents.

Figure 9: Manage Agents
Select and Launch an Agent
- Click the three-dot menu against the agent you want to use.
- Select New conversation. The system will open a conversation interface with the agent activated.

Figure 10: New conversation tab
Ask Questions
- Type your question in the prompt field at the bottom of the conversation interface.
- Press Enter or click the send button to submit your question.
Review and Interact with Results
The agent will generate responses that may include:
- Text summaries and insights
- Data visualizations (bar charts, line graphs, pie charts)
- Tables with detailed information
- Follow-up suggestions
You can ask follow-up questions to dive deeper into specific insights or request different visualizations.
Create a Direct Conversation (Without an Agent)
If you prefer to explore data without pre-configured agents, you can start a direct conversation.
Step 1: Access the Conversation Creation Option
- From the Conversations workspace, click the + New Conversation button.

Figure 11: Creating a direct conversation
Step 2: Select a Data Explore
- The system will display available explores.
- Select the Explore you want to analyze:
- Agencies
- Leads
- Vendors
- Click to confirm your selection.
- The conversation interface will open with your selected explore.

Figure 12: Selecting Explores
Step 3: Start Asking Questions
- Type your question in the prompt field and press Enter.
- The system will analyze your query and generate responses based on the selected data source.
Example:
- “What agencies posted the most opportunities last month?”
- “Show me opportunities with budgets over $1 million”
- “Create a visualization of opportunities by category”

Figure 13: Asking questions from the agent
For deeper insight into Looker’s conversational analytics framework and platform capabilities, you can also refer to Looker: Conversational Analytics.
FAQs
Can I use multiple data Explores with a single agent?
Yes, when configuring an agent, you can select multiple explores from the Data tab. The agent will be able to query across all selected data sources.
How do I delete an agent I no longer need?
Navigate to the Agents tab, click the three-dot menu next to the relevant agent, and select Delete.
Can I share agents with other team members?
Yes, navigate to the Agents tab, click the three-dot menu next to the relevant agent, and select Share.
What happens if I ask a question outside my agent’s data scope?
The agent will inform you that it cannot answer based on the configured data sources and may suggest rephrasing your question or selecting a different agent.
Contact Us
For further assistance, Contact Us.